I18n: How to Build a Multi-Language Vue 3 App

Introduction
Vue is one of the most widely used frameworks to build single-page applications and is currently available in version 3. When you intend your app to be used by users of different countries, a common task is to provide the content of your app in different languages. Building a multi-language app with Vue is fairly easy when utilizing the Vue I18n plugin. However, if you further want to store the locale messages in separate files, you need a mechanism that is pre-compiling these files during the build process.
In This Guide
A Vue 3 project is setup with Vite (v4.3.9). Subsequently, the Vue I18n (v9.2.2) and unplugin-vue-i18n (v0.11.0) plugins are described in a few sentences and installed in order to internationalize the app. Some parts of the app are then exemplary localized to illustrate how to configure and work with the Vue I18n plugin using Vue’s Composition API and the script setup syntax.
Setup
- Vue 3.3.4
- Vite 4.3.9
- Vue I18n 9.2.2
- unplugin-vue-i18n 011.0
Prerequisites
- Basic understanding of how to work with Vue 3 + Vite, the Composition API and the
script setupsyntax - node.js is installed on your machine
New Vue Project
Open your terminal at the desired working directory and initialize a new Vue 3 application by executing the following command as described in the documentation:
npm init vue@latest
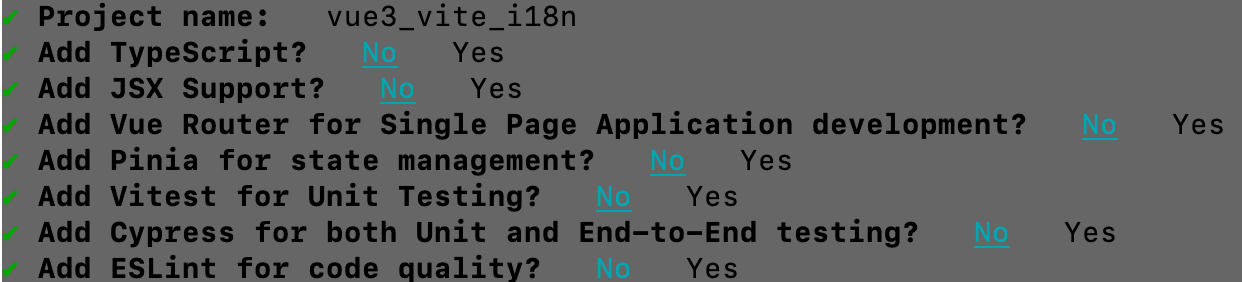
You might get asked to install create-vue@latest, the official Vue project scaffolding tool. Confirm the installation by typing y and hit enter. Next, you will be prompt to select a project name and optional features. I will use vue3_vite_i18n as the project name. Additional features are not needed in the context of this guide. Therefore, answer all of them with No.
Now execute the following commands in your terminal to navigate to the project root folder, install all dependencies and start a development server:
cd vue3_vite_i18n
npm install
npm run dev
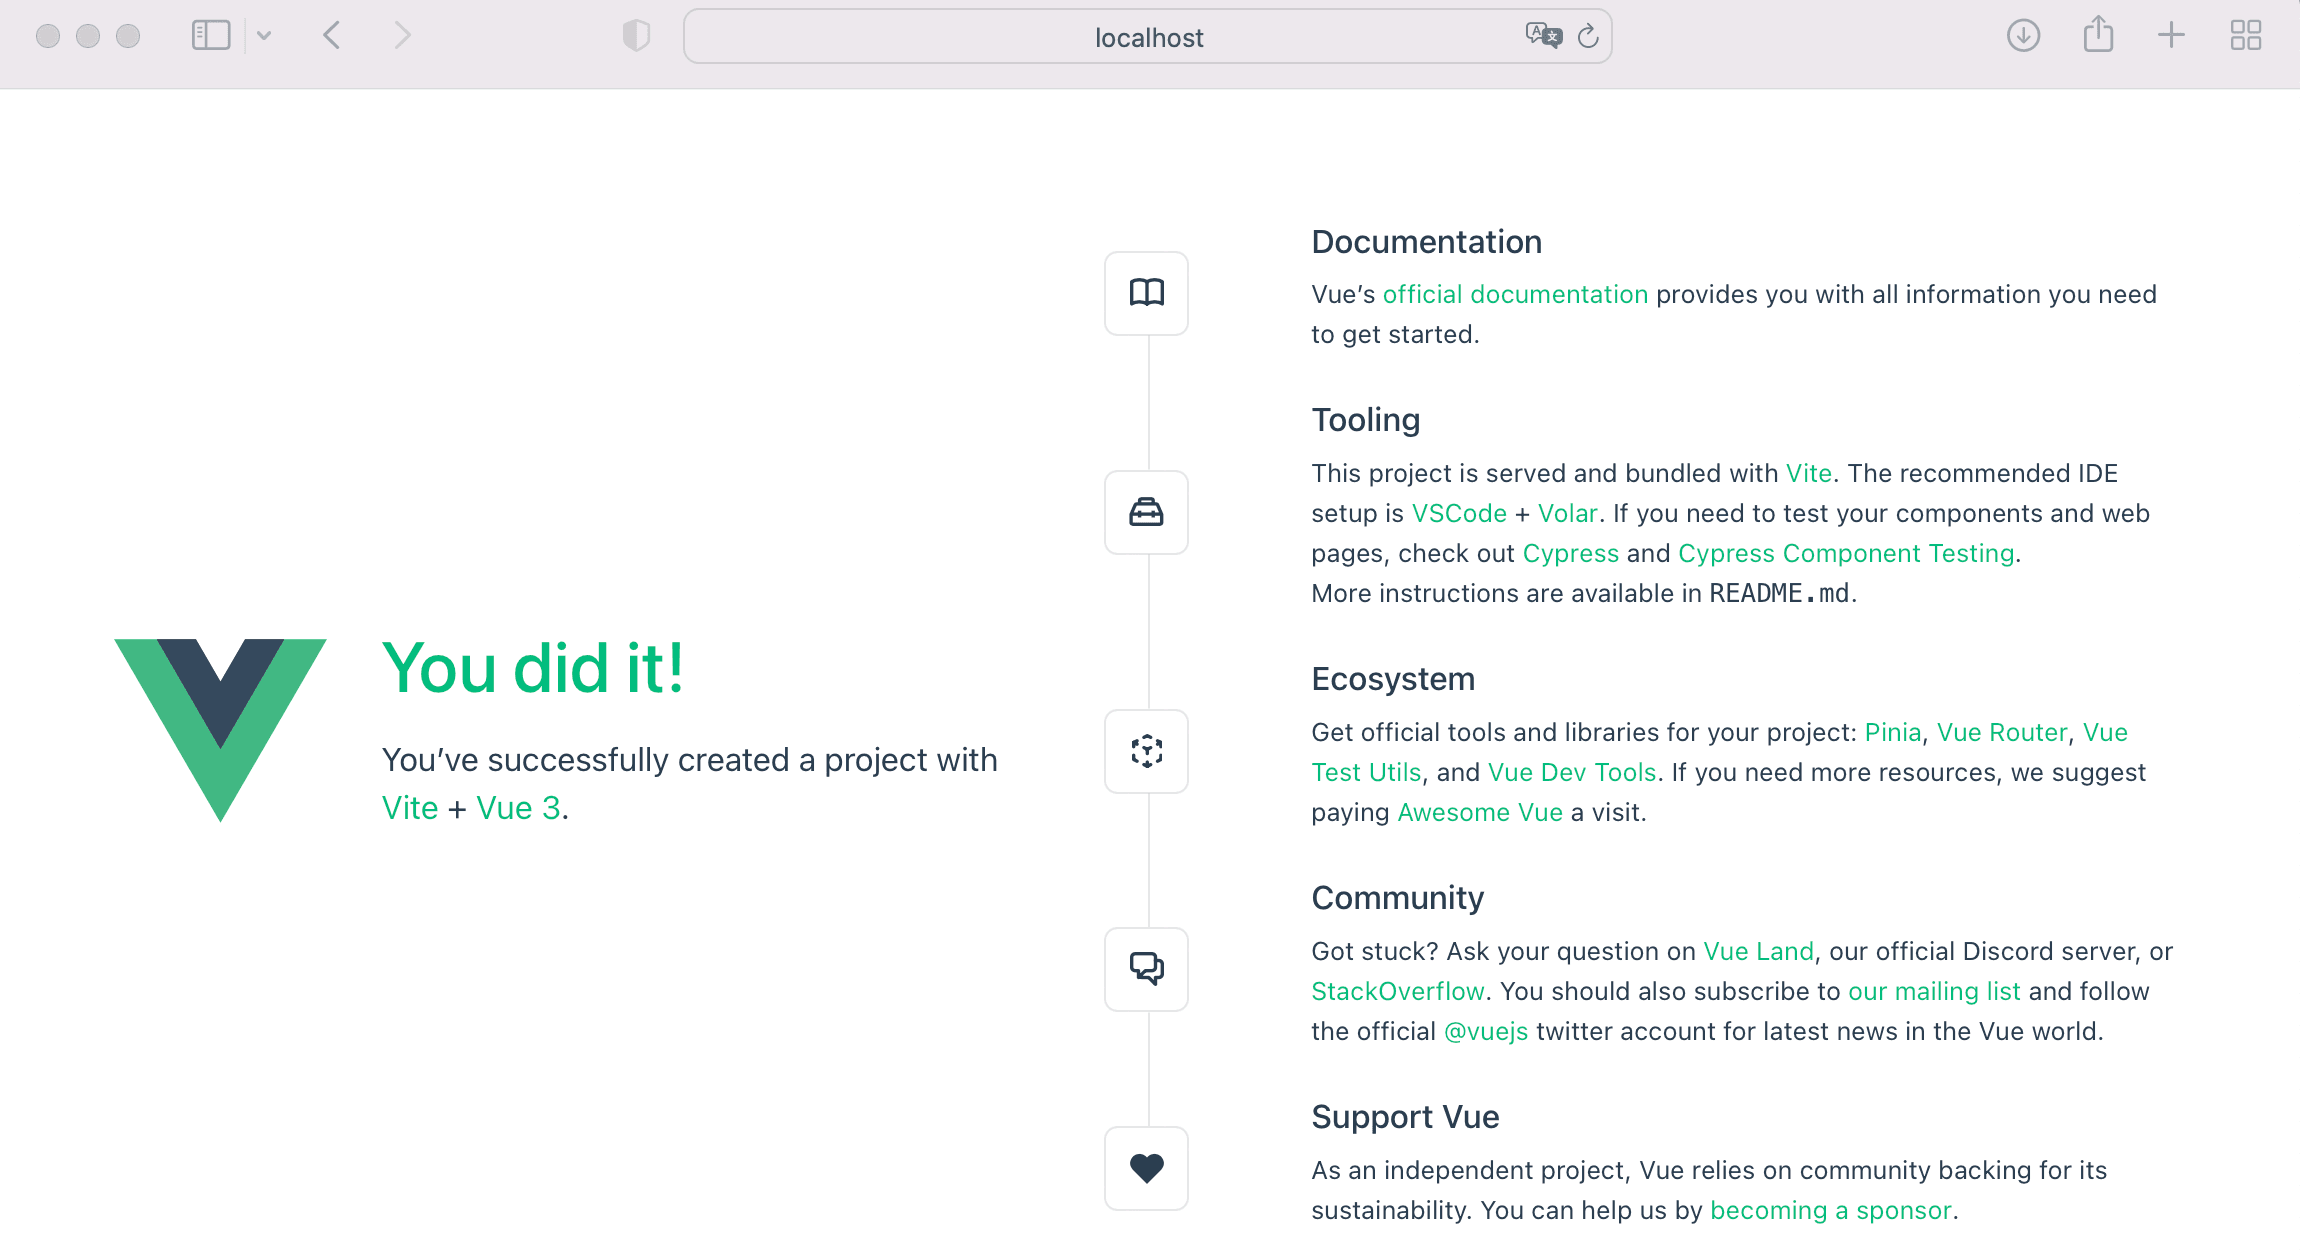
Then browse http://127.0.0.1:5173 to check whether the installation was successful.
Install I18n Plugins
Next, install version 9 of the Vue I18n plugin:
npm install vue-i18n@9
The plugin provides you with many features to localize a Vue application and with version 9 or higher you can use Vue’s Composition API and script setup syntax, too.
At this point you can already localize your app with locale messages stored in a JavaScript object. However, it is more common to store locale messages in separate files. These files must be pre-compiled during the build process, which can be done with the unplugin-vue-i18n plugin.
Install the plugin as follows:
npm install @intlify/unplugin-vue-i18n
Create Locales
To give a simple example on how to localize a Vue 3 app with the installed plugins, we will provide the <h1> and <h3 content of the default HelloWorld.vue component in German and in English. What we want is, to host the content in separate locale resource files, i.e. one for the English content and one for the German content.
Create a new folder locales/ in your project root directory, which will hold the locale resource files. Inside locales/ create two new files en.json and de.json. The locale messages are key-value pairs in their basic form, but can also be nested or list formatted (see the documentation). In addition, Vue I18n also supports HTML format, which allows us to use HTML elements in the locale messages.
Copy the content of <h1> in the HelloWorld.vue component and set it as the value of the title key in the en.json file.
Next, copy the content of <h3> in the HelloWorld.vue component and set it as the value of the description key in the en.json file. The message contains references that are the same for every locale. If a reference changes in the future, we would have to replace it in every locale by hand. Luckily, the Vue I18n plugin allows us to separate content that is the same across all locales from the locale messages. We will utilize this feature and set placeholders instead of a hard-coded references. The final references to the external resources will be defined in the HelloWorld.vue component later in this guide.
Therefore, replace the references with a placeholders {} and custom variable names, i.e. {viteRef} and {vueRef} respectively. The en.json file now looks as follows:
{
  "title": "You did it!",
  "description": "You’ve successfully created a project with\n<a target=\"_blank\" href=\"{viteRef}\">Vite</a> +\n<a target=\"_blank\" href=\"{vueRef}\">Vue 3</a>."
}
The German de.json counterpart has the same structure:
{
  "title": "Geschafft!",
  "description": "Du hast erfolgreich eine neues Projekt mit\n<a target=\"_blank\" href=\"{viteRef}\">Vite</a> +\n<a target=\"_blank\" href=\"{vueRef}\">Vue 3</a> erstellt."
}
Configuration
In vite.config.js the path of the locale resource files must be specified in order to be pre-compiled. Therefore, add VueI18nPlugin to the list of plugins and provide the path of the locale resource files under the include option (line 11). If your locale messages contain HTML, the strictMessage option must be set to false (line 12):
import { fileURLToPath, URL } from "node:url";
import { resolve, dirname } from "node:path";
import { defineConfig } from "vite";
import vue from "@vitejs/plugin-vue";
import VueI18nPlugin from "@intlify/unplugin-vue-i18n/vite";

export default defineConfig({
  plugins: [
    vue(),
    VueI18nPlugin({
      include: resolve(dirname(fileURLToPath(import.meta.url)), './src/locales/**'),
      strictMessage: false
    })
  ],
  resolve: {
    alias: {
      '@': fileURLToPath(new URL('./src', import.meta.url))
    }
  }
});
Next, in main.js we need to create an instance of I18n and install it with app.use() before mounting the app. When creating an instance, we can set different options — a few can be seen in the following main.js file:
import { createApp } from "vue";
import { createI18n } from "vue-i18n";
import App from "./App.vue";

import "./assets/main.css";
import messages from "@intlify/unplugin-vue-i18n/messages";

const i18n = createI18n({
  legacy: false,
  globalInjection: true,
  locale: "en",
  fallbackLocale: "en",
  availableLocales: ["en", "de"],
  messages: messages,
});

const app = createApp(App)

app.use(i18n)
app.mount('#app')
With the first option legacy you can control whether to use the Composition API or not. Setting legacy: false enables the Composition API. globalInjection: true allows us to use properties and methods of the so called global composer instance in every component without importing it via the useI18n() function. Further, a default locale can be set with locale , as well as a fallback locale when a selected locale is not available (fallbackLocale). A list of all available locales can be set with availableLocales. The locale messages can then be set with messages which are used to localize the app. Instead of importing every possible locale resource file with an individual import statement, the unplugin-vue-i18n plugin allows us to import them all at once with
import messages from "@intlify/unplugin-vue-i18n/messages";
Usage
We now localize the static content from the <h1> and <h3> in the template of the HelloWorld.vue component. This can be done by utilizing Vue I18n‘s Translation API, $t. To localize <h1>, replace {{ msg }} with
{{ $t("title") }}
In its basic form, $t expects the key of the locale message you want to interpolate. In this case title. The plugin will then show the message of the locale that is currently set in the locale variable of the global I18n instance. You can now remove the props defined in the component’s script element, as well as the props passed to the component in the App.vue component, by changing line 11 from <HelloWorld msg="You did it!"> to <HellWorld />.
The <h3> will be replaced with a so called named interpolation. This allows us to assign values to the named interpolation {viteRef} and {vueRef} in the local message description. The values for the placeholders will be defined inside <script setup> of the HelloWorld.vue component:
<script setup>
  const viteRef = "https://vitejs.dev/";
  const vueRef = "https://vuejs.org/";
</script>
In the template we replace <h3> with the following:
<h3 v-html="$t('description', { 'viteRef': viteRef, 'vueRef': vueRef})"></h3>
Since the message contains HTML elements, we are using the v-html directive on the <h3> element. Otherwise the HTML elements will be output as plain text. In the directive’s value we are calling the translation API $t with the desired key, i.e. description. The second parameter is an object containing the values of the two placeholders.
The final HelloWorld.vue component looks as follows:
<script setup>
  const viteRef = "https://vitejs.dev/";
  const vueRef = "https://vuejs.org/";
</script>

<template>
  <div class="greetings">
    <h1 class="green">{{ $t("title") }}</h1>
    <h3 v-html="$t('description', { 'viteRef': viteRef, 'vueRef': vueRef})"></h3>
  </div>
</template>

<style scoped>
  h1 {
    font-weight: 500;
    font-size: 2.6rem;
    top: -10px;
  }
  h3 {
    font-size: 1.2rem;
  }
  .greetings h1,
  .greetings h3 {
    text-align: center;
  }
  @media (min-width: 1024px) {
    .greetings h1,
    .greetings h3 {
      text-align: left;
    }
  }
</style>
When rebuilding the project now, the default locale defined in the createI18n function is used, but cannot be changed by the user.
Locale Selection
The HTML <select> element will be utilized in order to let the user select a different locale. Therefore create a new component LocaleSelect.vue in the components/ directory with the following content:
 <template>
  <label for="locale">Locale: </label>
  <select v-model="$i18n.locale" id="locale">
    <option v-for="locale in $i18n.availableLocales" :value="locale">{{ locale }}</option>
  </select>
</template>

<style scoped>
  label, select {
    width: 100%;
  }
  select {
    height: 25px;
  }
</style>
The value of the <select> element is bound to the locale variable of the global I18n instance by the v-model directive. In the current setting, the global I18n instance is available in the template of every component via the $i18n variable. The <select> options are generated with the v-for directive according to the available locales as defined in availableLocales in the createI18n function. Since the value of the <select> element is bound to the locale variable, the locale changes automatically to the option selected by a user.
Now import the LocaleSelect.vue component in the HelloWorld.vue component and insert <LocaleSelect /> in the template. The final HelloWorld.vue component looks as follows:
 <script setup>
  import LocaleSelect from "./LocaleSelect.vue";
  const viteRef = "https://vitejs.dev/";
  const vueRef = "https://vuejs.org/";
</script>

<template>
  <LocaleSelect />
  <div class="greetings">
    <h1 class="green">{{ $t("title") }}</h1>
    <h3 v-html="$t('description', { 'viteRef': viteRef, 'vueRef': vueRef})"></h3>
  </div>
</template>

<style scoped>
  h1 {
    font-weight: 500;
    font-size: 2.6rem;
    top: -10px;
  }
  h3 {
    font-size: 1.2rem;
  }
  .greetings h1,
  .greetings h3 {
    text-align: center;
  }
  @media (min-width: 1024px) {
    .greetings h1,
    .greetings h3 {
      text-align: left;
    }
  }
</style>
Run the Final App
Rebuild the project with
npm run dev
and browse http://127.0.0.1:5173.
As you can see, the locale adapts to the selected option of the <select> element.
With this implementation, all locales will be bundled in the main chunk. If you want to load specific locales asynchronously, read my next story How to Load i18n Locales Asynchronously in Vue 3 + Vite to learn how to implement lazy loading vor Vue I18n.
Summary
The Vue I18n plugin allows you to internationalize your Vue 3 application fairly easy. Furthermore, version 9 of the plugin allows you to use Vue’s Composition API and the <script setup> syntax. When organizing the locales in separate files, the unplugin-vue-i18n plugin pre-compiles them during the build process with Vite.